The CDC LoanApp Administrator can setup a list of documents for the Borrower to upload as part of their application.
Step-by-step guide

Follow these steps to customize the document checklist. NOTE – You must have an administrator account to do this.
- Login to your LoanApp website (i.e. – https://CDCNAME.loanapp.bmisw.com)
- If the Administration page is not displayed, click on ADMIN at the top of your screen.
- Click MANAGE DOCUMENT TYPES
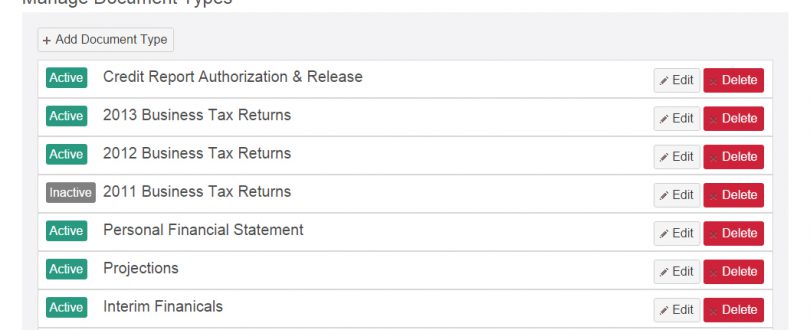
To ADD a document type:
- Click ADD DOCUMENT TYPE
- Name the document type
- Add a description
- You can add basic formatting to the description like bold, italics, underlining, indents, and/or links.
- For example, perhaps you provide a link to a document for download that you’d like the borrower to sign and then upload via LoanApp.
- Check the ACTIVE checkbox to make this visible to the borrower
- Add the associated BMI Document Type
- This is only used if you have the BMI Document Management Suite
To MODIFY an existing document type:
- Scroll to the document item you want to modify
- Click EDIT
- Make any necessary changes to the item
- Click SAVE
To DELETE an existing document type:
- Scroll to the document item you want to delete
- Click DELETE
- If any documents have been uploaded by borrowers to this line item you will be prompted to reassign or delete those documents. Click DELETE after making your selection.
To REORDER your list of document types:
- Use the up and down arrows to reorder the list

